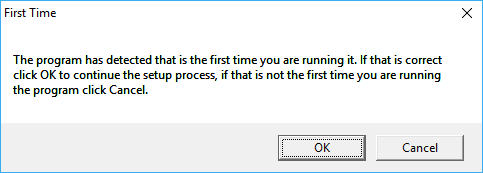
First you need to install NimbleDataProPlus / NimbleDataPlusLite for Fibonacci / Galactic Trader. Now start Fibonacci / Galactic Trader. If you are running Fibonacci / Galactic Trader first time, it will show one message and will ask to click on OK button to continue the setup process as per below screenshot :
Once you will click on OK button, it will ask for Realtime datafeed setup. Click on OK button again as per below screenshot:

In next window, configure the settings as per below screenshot and click on OK button :

After configuration, restart Fibonacci Trader. You will get NimbleDataProPlus login desk automatically as per below screenshot :

Once you get login window, click on Login button as per below screenshot :
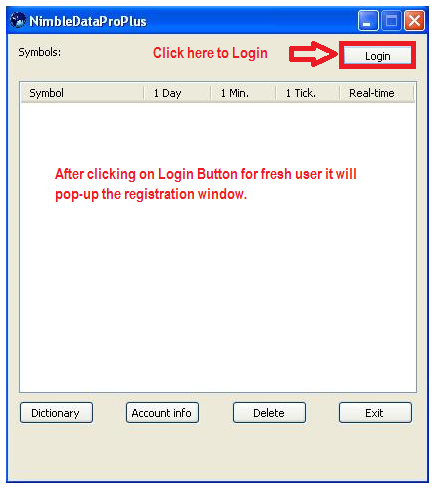
If you are a fresh user for our data product, it will ask for registration. This is one time activity. . It is important that you write correct email id and mobile number because activation link is sent over email / mobile. For registration procedure, please refer below screenshot :

Once registration done successful, it will show message as below:

Now check your email and click on “Activate Free Trial “button to activate your free trial from received mail. Once done, click on NEXT button as shown below:

Once license is activated, it will show message with expiry date of subscription as shown below:

Once you get above window then click on Ok and after that click on Login button on dashboard.

Before you open chart for any new symbol, you have to add Exchange in Fibonacci / Galactic Trader. For this, goto menu File >> Exchanges >> Edit Exchanges as per below screenshot :

In exchange window, select any already added exchange and edit the same. Enter Exchange name as NSE & Exchange Abbreviation as NSE. Timezone is 0 (zero) and 30 for ‘Minute to wait after close’ as per below screenshot :

Next, click on ‘Default Trading Time button from save above Exchange window. It will allow to set Exchange time. We can set Open time as 9:00 AM and Close as 23:59 or 11:59 PM as per below screenshot :


Once settings are done as per above screenshots, click on Add button to add new exchange with trading timing settings.

Once exchange has been added in list, click on Close button to close this window.
Add new symbol and open chart :
To add new symbol, goto menu File >> Symbols >> New Symbol as per below screenshot :

In Create New Symbol window, enter symbol name in Description & Symbol box. Select Exchange as NSE from list. Once you enter symbol name & select exchange, as per below screenshot :

To open the chart for added symbol (NIFTY-I.NFO), goto menu File >> New chart as per below screenshot :


Once you will select the parameters, click on OK button to open the chart.

No. of Bar settings :
To get default intraday backfill for last 60 days, right click on chart, select Chart >> Open Option as per below screenshot:

It will popup ‘Chart Options’ window and set ‘Bars in Memory’ as 25000 as below :

Once you set the settings as per above screenshot, reload the chart by right click on chart as per below screenshot :

First it will ask start date. Enter start date as before 2 months ago.

Once you enter Start Date, it will ask for End Date. By default, it will show you today’s date and then click on OK button.

It will show you last 2 months intraday backfill in 1 minute.
Range Bar :

Tick Chart :

Renko Chart :